Logging into Kerio Operator Administration
We recommend to use the supported browsers to connect to Kerio Operator Administration. For the list of the browsers, refer to the Kerio Operator product pages.
Kerio Operator Administration is currently localized into several languages. Select yours in the top right corner of the interface. The default language is set according to your browser language settings.
How to login
Before you login for the first time, make sure you have:
- DNS name of the server with Kerio Operator.
- Supported browser
To login, enter the DNS name of the computer with Kerio Operator: kerio.operator.name/admin
Administration runs solely via the HTTPS protocol on port 4021. The
address is automatically redirected to: https://kerio.operator.name:4021/admin
NOTE
If the PBXPrivate Branch Exchange - System that connects telephone extensions and switches calls. is located behind firewall, HTTPS on port 4021 must be enabled.
If the URLThe Uniform Resource Locator is the address of a web page on the world wide web. is entered correctly, your browser displays a warning about a SSLSecure Sockets Layer - A protocol that ensures integral and secure communication between networks. certificate. After the installation, Kerio Operator creates a certificate which is not signed by a trusted certificate authority — it is a self-signed certificate (for more information, read topic about the SSL certificates). Since you know the certificate can be trusted, you can add the security exception and continue to a login page.
Configuration wizard
When you connect to the PBX for the first time, a configuration wizard to do the necessary configuration. Here are those settings:
- Set the configuration wizard language.
- Accept the Kerio Operator license agreement.
- Set a password for the administration account (be sure to remember the password, you will need it to login to the PBX).
NOTE
This admin password is synchronized with password of user
root in the operating system where Kerio Operator is
installed (Kerio OS).
- Set the time zone of Kerio Operator (requires a restart of the PBX).
- Set the PBX language for communication with you and other users (warnings, auto attendant scripts, voicemail, etc.).
- Configure the first extension number. If you use phone provisioning, extensions will be created automatically beginning with the number you enter here.
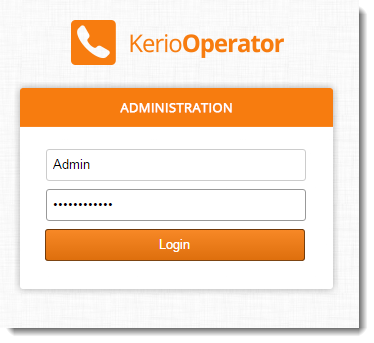
After successful configuration, the login page is displayed. Enter the username and password you created earlier.
To change the password, use the following steps:
- Login to Kerio Operator using the HTTPS protocol (e.g.
https://operator.company.com/admin) - Open the Configuration > Users section.
- In the user list, select the administrator account you are logged in with and double-click on it.
- Change the password on tab General.