Using contacts in Kerio Connect Client
Creating contacts
In Kerio Connect Client you can create contacts:
Creating contacts in the Contacts section
- In Kerio Connect Client, go to the Contacts section.
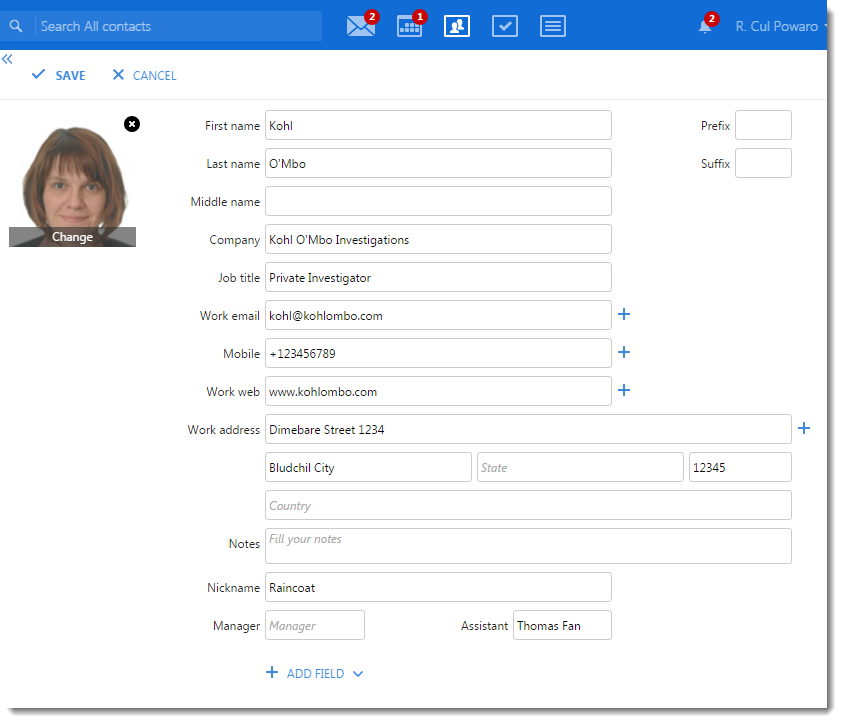
- Click New contact.
- Type the contact information.
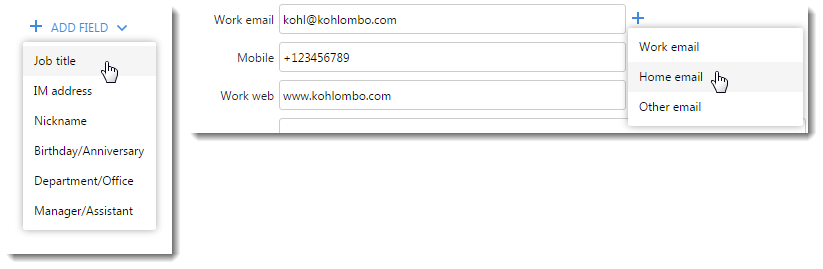
- Click Add field to add additional information. To add items of already displayed information, click the plus sign at the right of an item.
- Click Upload photo and select the contact photo.
NOTE
The image file must be in the JPG format and cannot exceed 256 kB.
- Click Save.
NOTE
If you synchronize your Kerio Connect account with an Exchange ActiveSyncA protocol that synchronizes data with computers and mobile devices. device, the following applies due to the limitation of the Exchange ActiveSync protocol:
- Only the first three email addresses synchronize.
- The types of email addresses don't synchronize (for example,
work email, orhome email).
Creating contacts from email messages
NOTE
New in Kerio Connect 8.5!
You can create or update contacts directly from the messages you receive.
- Select a message in Kerio Connect Client.
- Click any name or email address in the message header.
- Click Create contact.
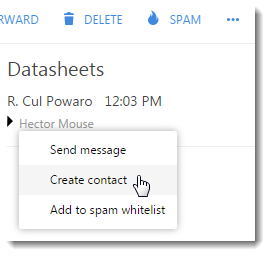
If the contact already exists, the option reads Update contact and opens the contact edit window.
Auto-created contacts
If you send messages to addresses that are not in your contacts, Kerio Connect Client saves the addresses.
These addresses are not visible in your contact folders. However, when you compose a message, Kerio Connect Client offers you these addresses together with other addresses from your contact list.
For more information refer to Composing new messages.
NOTE
Kerio Connect does the same when you receive a message from addresses that are not in your contacts.
Creating contact groups
Contact groups, also known as distribution lists, are groups of email addresses used for sending messages to multiple users.
- In Kerio Connect Client, go to the Contacts section.
- Click New group.
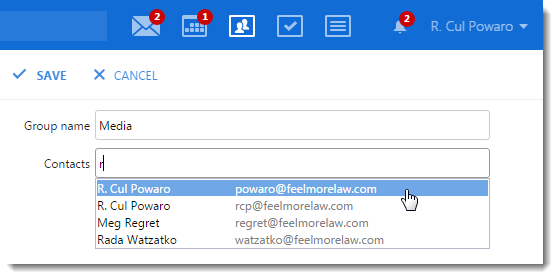
- Type a name for the group.
- In the Contacts field, type an email address and hit Enter. As you type, Kerio Connect suggest users from your contact folders. You can add a single email address or a contact group.
- Add as many email addresses as you want.
- Click Save.
NOTE
Apple OS X does not support distribution lists — contact groups are not synchronized to Address Book and vice versa.
Editing contacts
You can edit:
- Contacts you created in Kerio Connect Client
- Public contacts if you have appropriate rights. For more information refer to Assigning administrator rights to manage public folders.
- Contacts shared with you if you have appropriate rights
- Go to the Contacts section.
- Select the contact or group.
- Click Edit. You can also double-click the contact in the list.
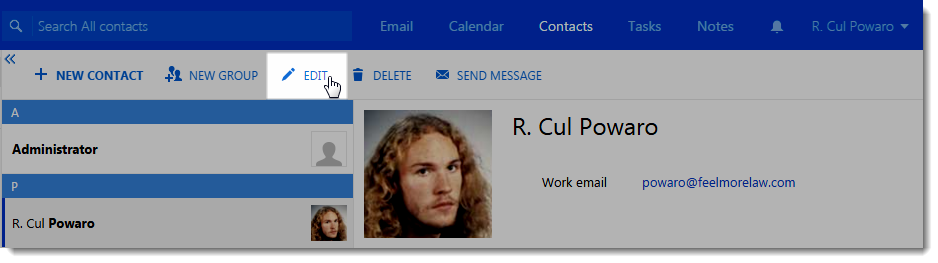
- Update the information.
- Click Save.
NOTE
New in Kerio Connect 8.5!
You can also click the name or email address in any message and update the contact (see Creating contacts from email messages).
Deleting contacts
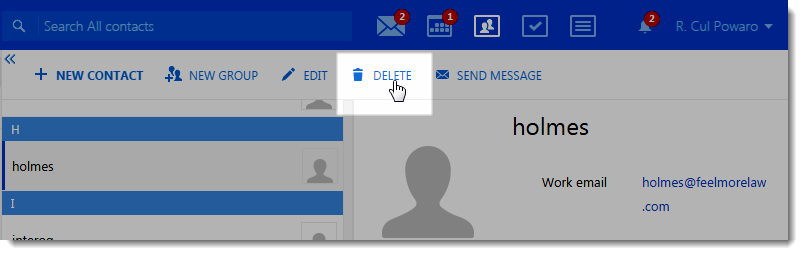
- Go to the Contacts section.
- Select the contact or group.
- Click Delete.
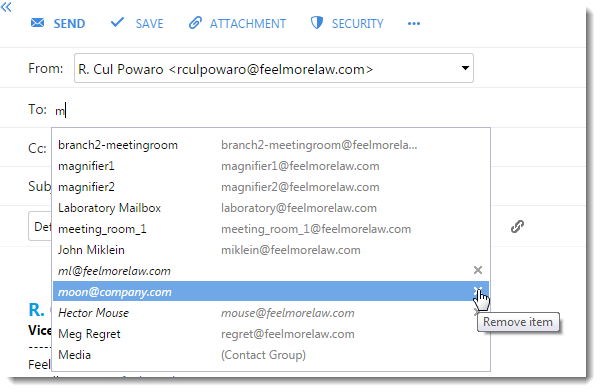
To delete the auto-created contacts, you can also:
- Go to the Email section.
- Click Compose.
- Type the email address you want to delete.
- In the list of offered email addresses, click the delete icon next the contact you want to delete.
To delete contacts shared with you, you must have appropriate rights.
Sorting contacts
In Kerio Connect Client, contacts are sorted according to contact's Last name.
If the last name entry contains more names, the first one is used for sorting.
Sorting contacts into folders
Your default contact folder is My contacts.
To add another folder, click the plus sign next to Folders and specify a name.

To move contacts to different folders, drag the contact from its original folder to another in the navigation tree on the left.
Sharing your contact folders
For more information refer to Sharing in Kerio Connect Client.